

Hello hello! Happy Flaky Friday, friends!
For June’s Bun of the Month I finally give you my Laminated Milk Bread Recipe. I’ve been working on this recipe (on and off) for nearly 3 years. In between working on Mooncakes & Milk Bread and Chinese Enough I felt inspired to push the Mother of All Milk Bread recipe a little further and thinner and see if she could laminate. She can! I can! I continued to practice making laminated milk bread every few months, either forming a loaf or playing around with a new bun shape or twisting technique. I didn’t want to rush the learning process and there wasn’t any pressure to share the recipe anywhere until it was really ready. A part of me was wondering if I should wait to share the recipe in a 10 or 15 year anniversary edition of M&M but I’m impatient and honestly can’t wait that long and want to start developing buns with the base laminated dough.
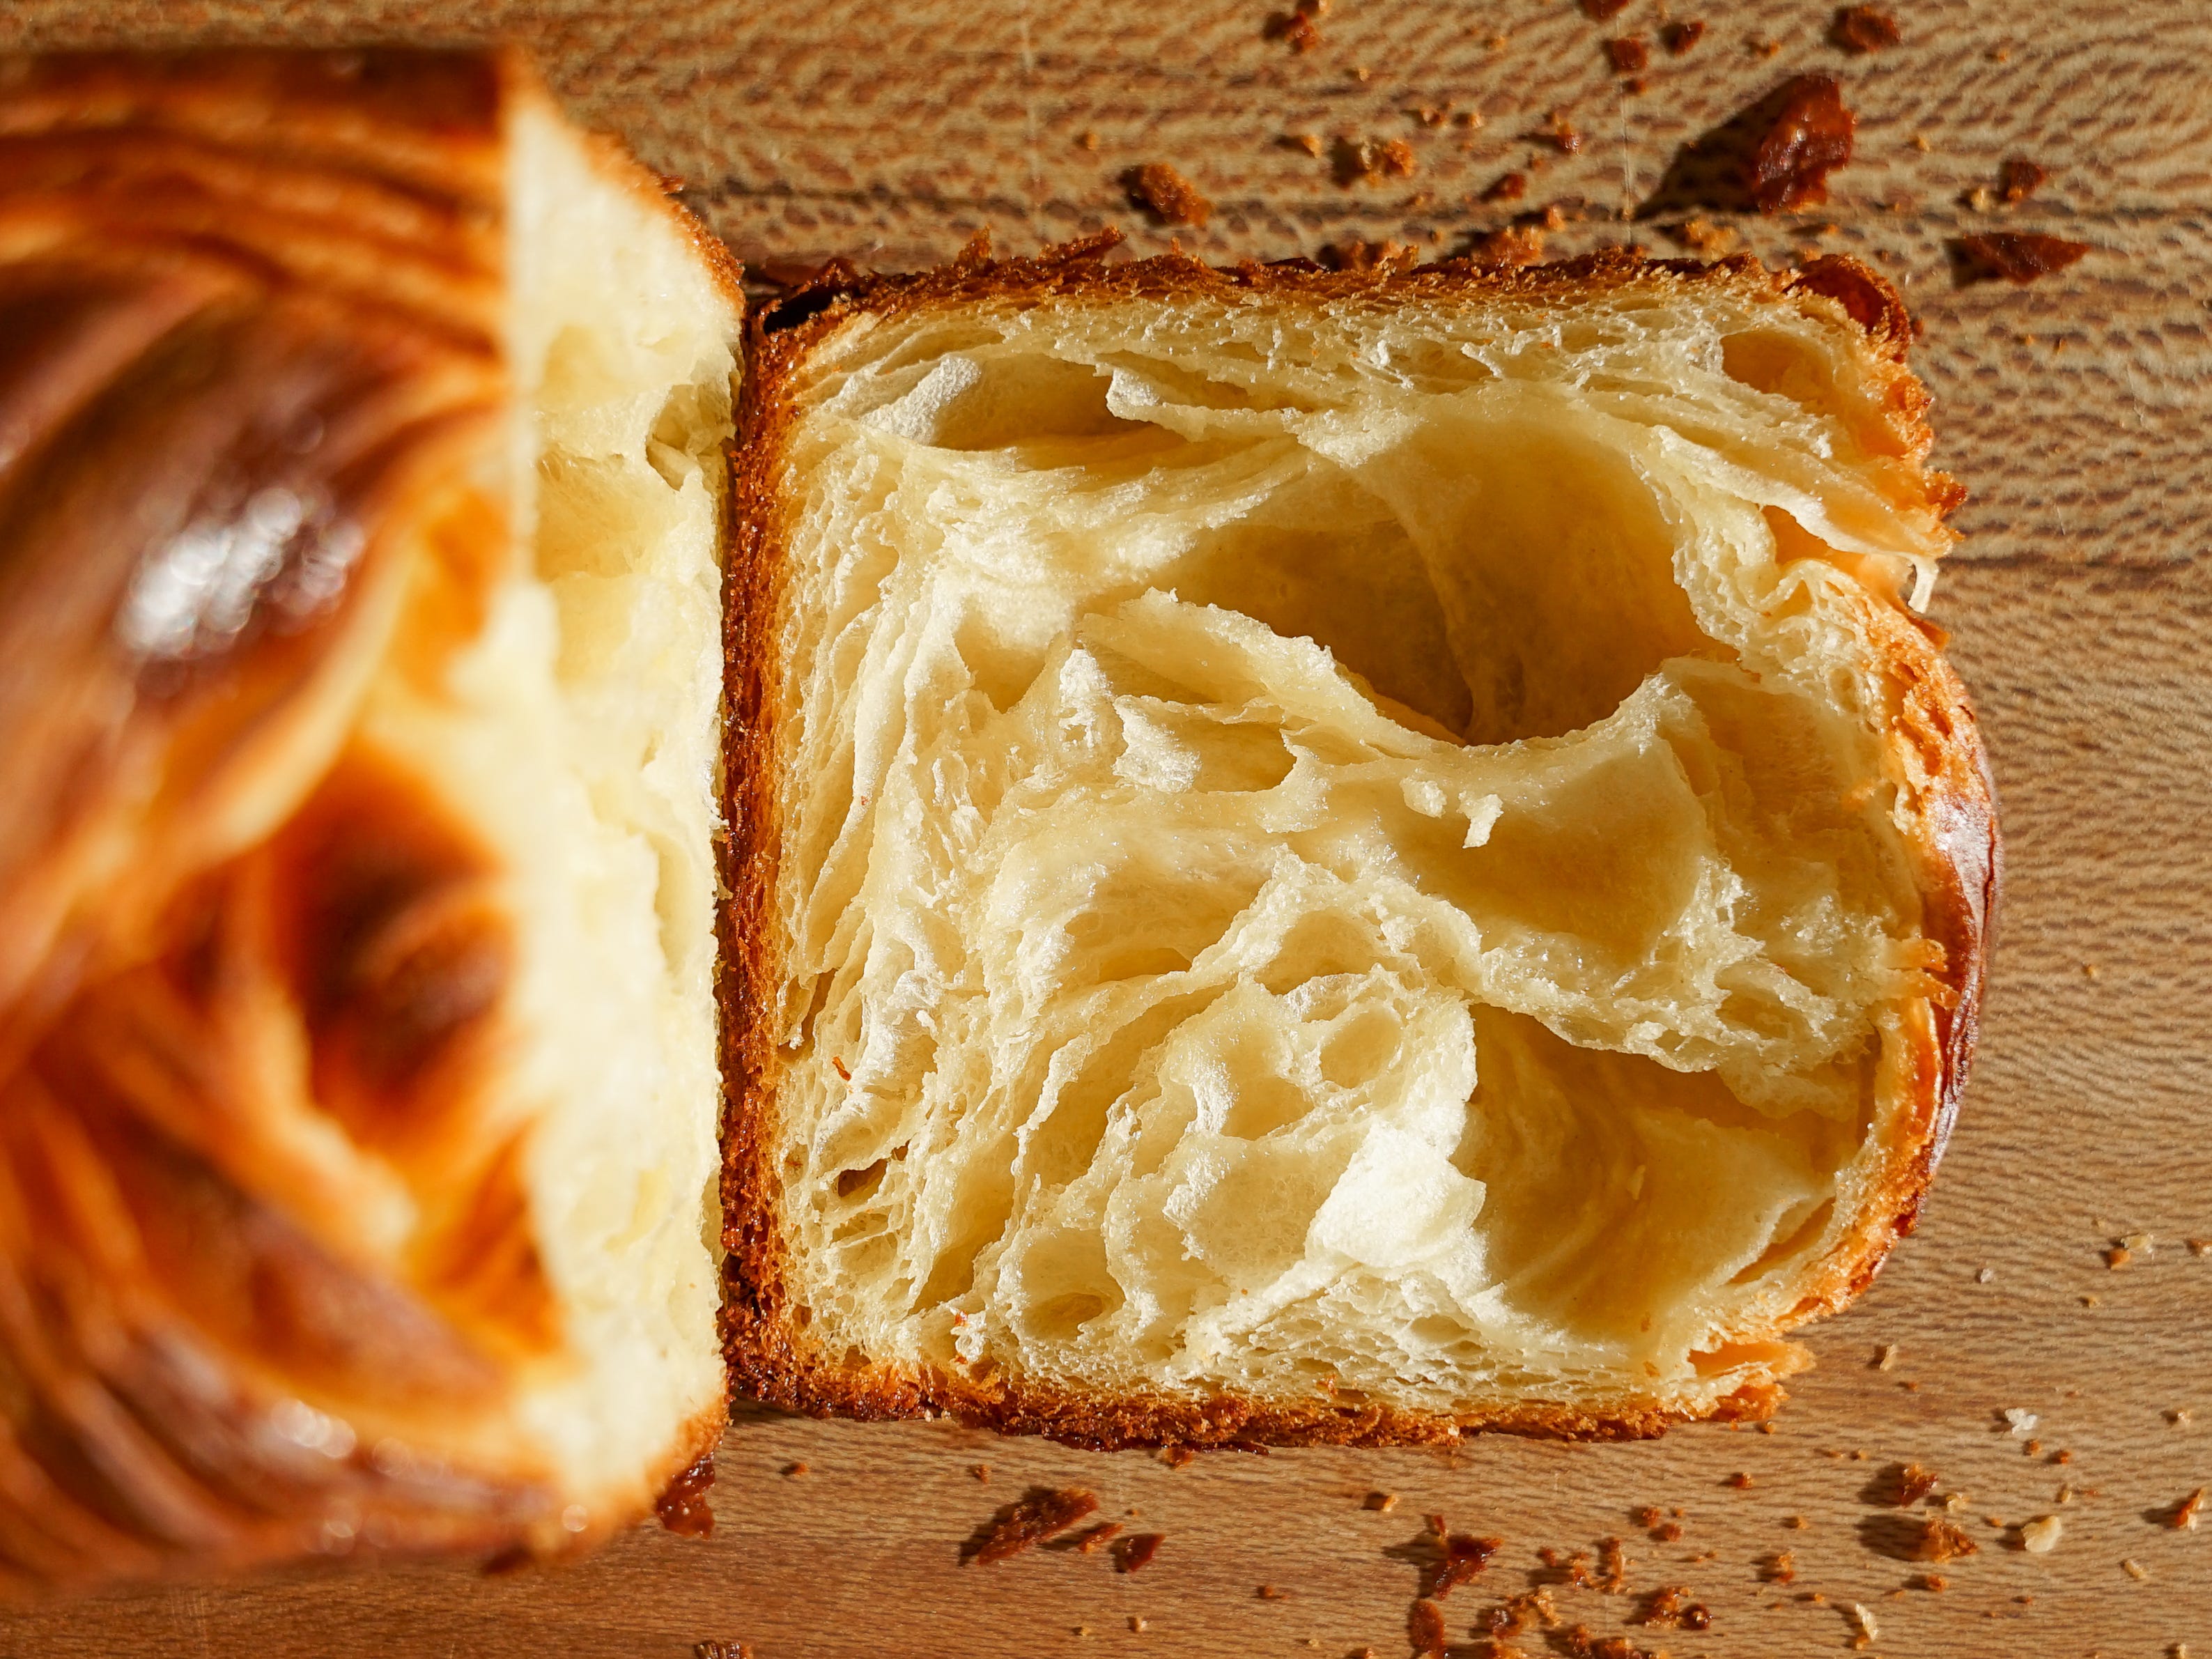
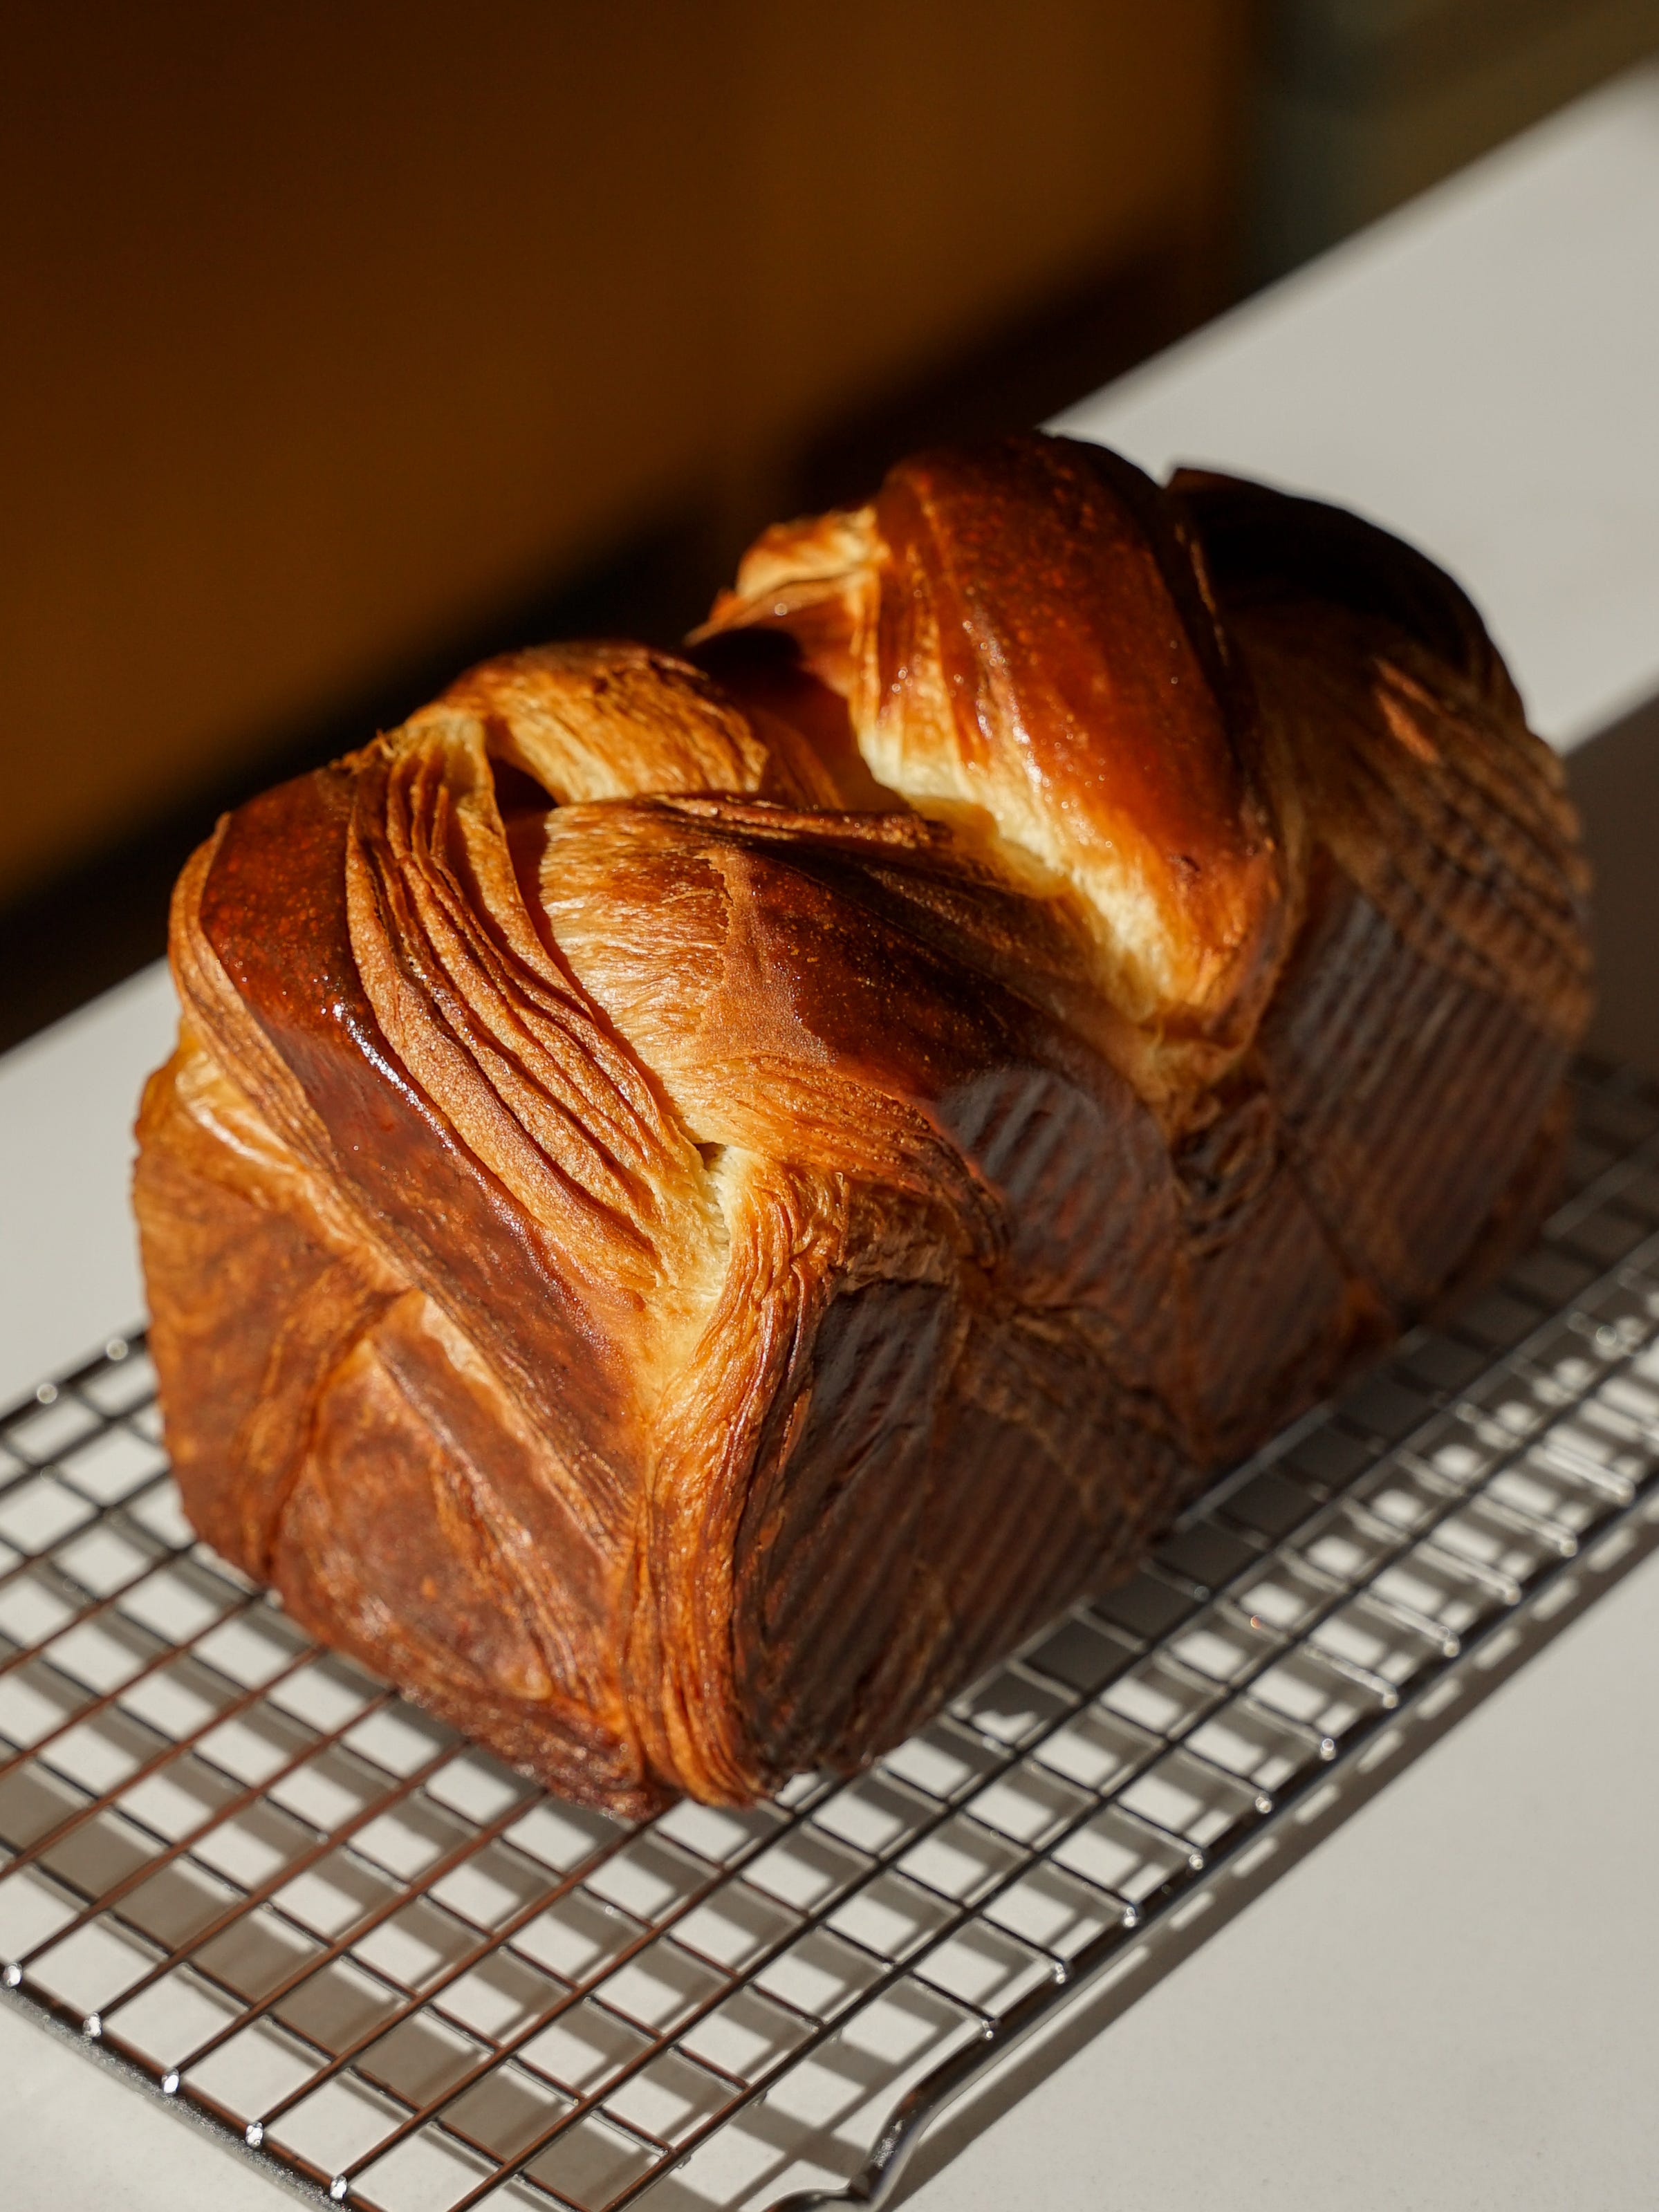
So here’s the long awaited recipe! Which includes lots of photos and video aids because I’m such a visual learner and can’t imagine how difficult this process would be without some visual guides! The bread is like a cross between a croissant and the softest pillow.
This is a long post and will be cut off in email so make sure to view the whole thing on Substack!


Before we jump into the recipe, here are some helpful tip/notes/words of encouragement while you work through the recipe.
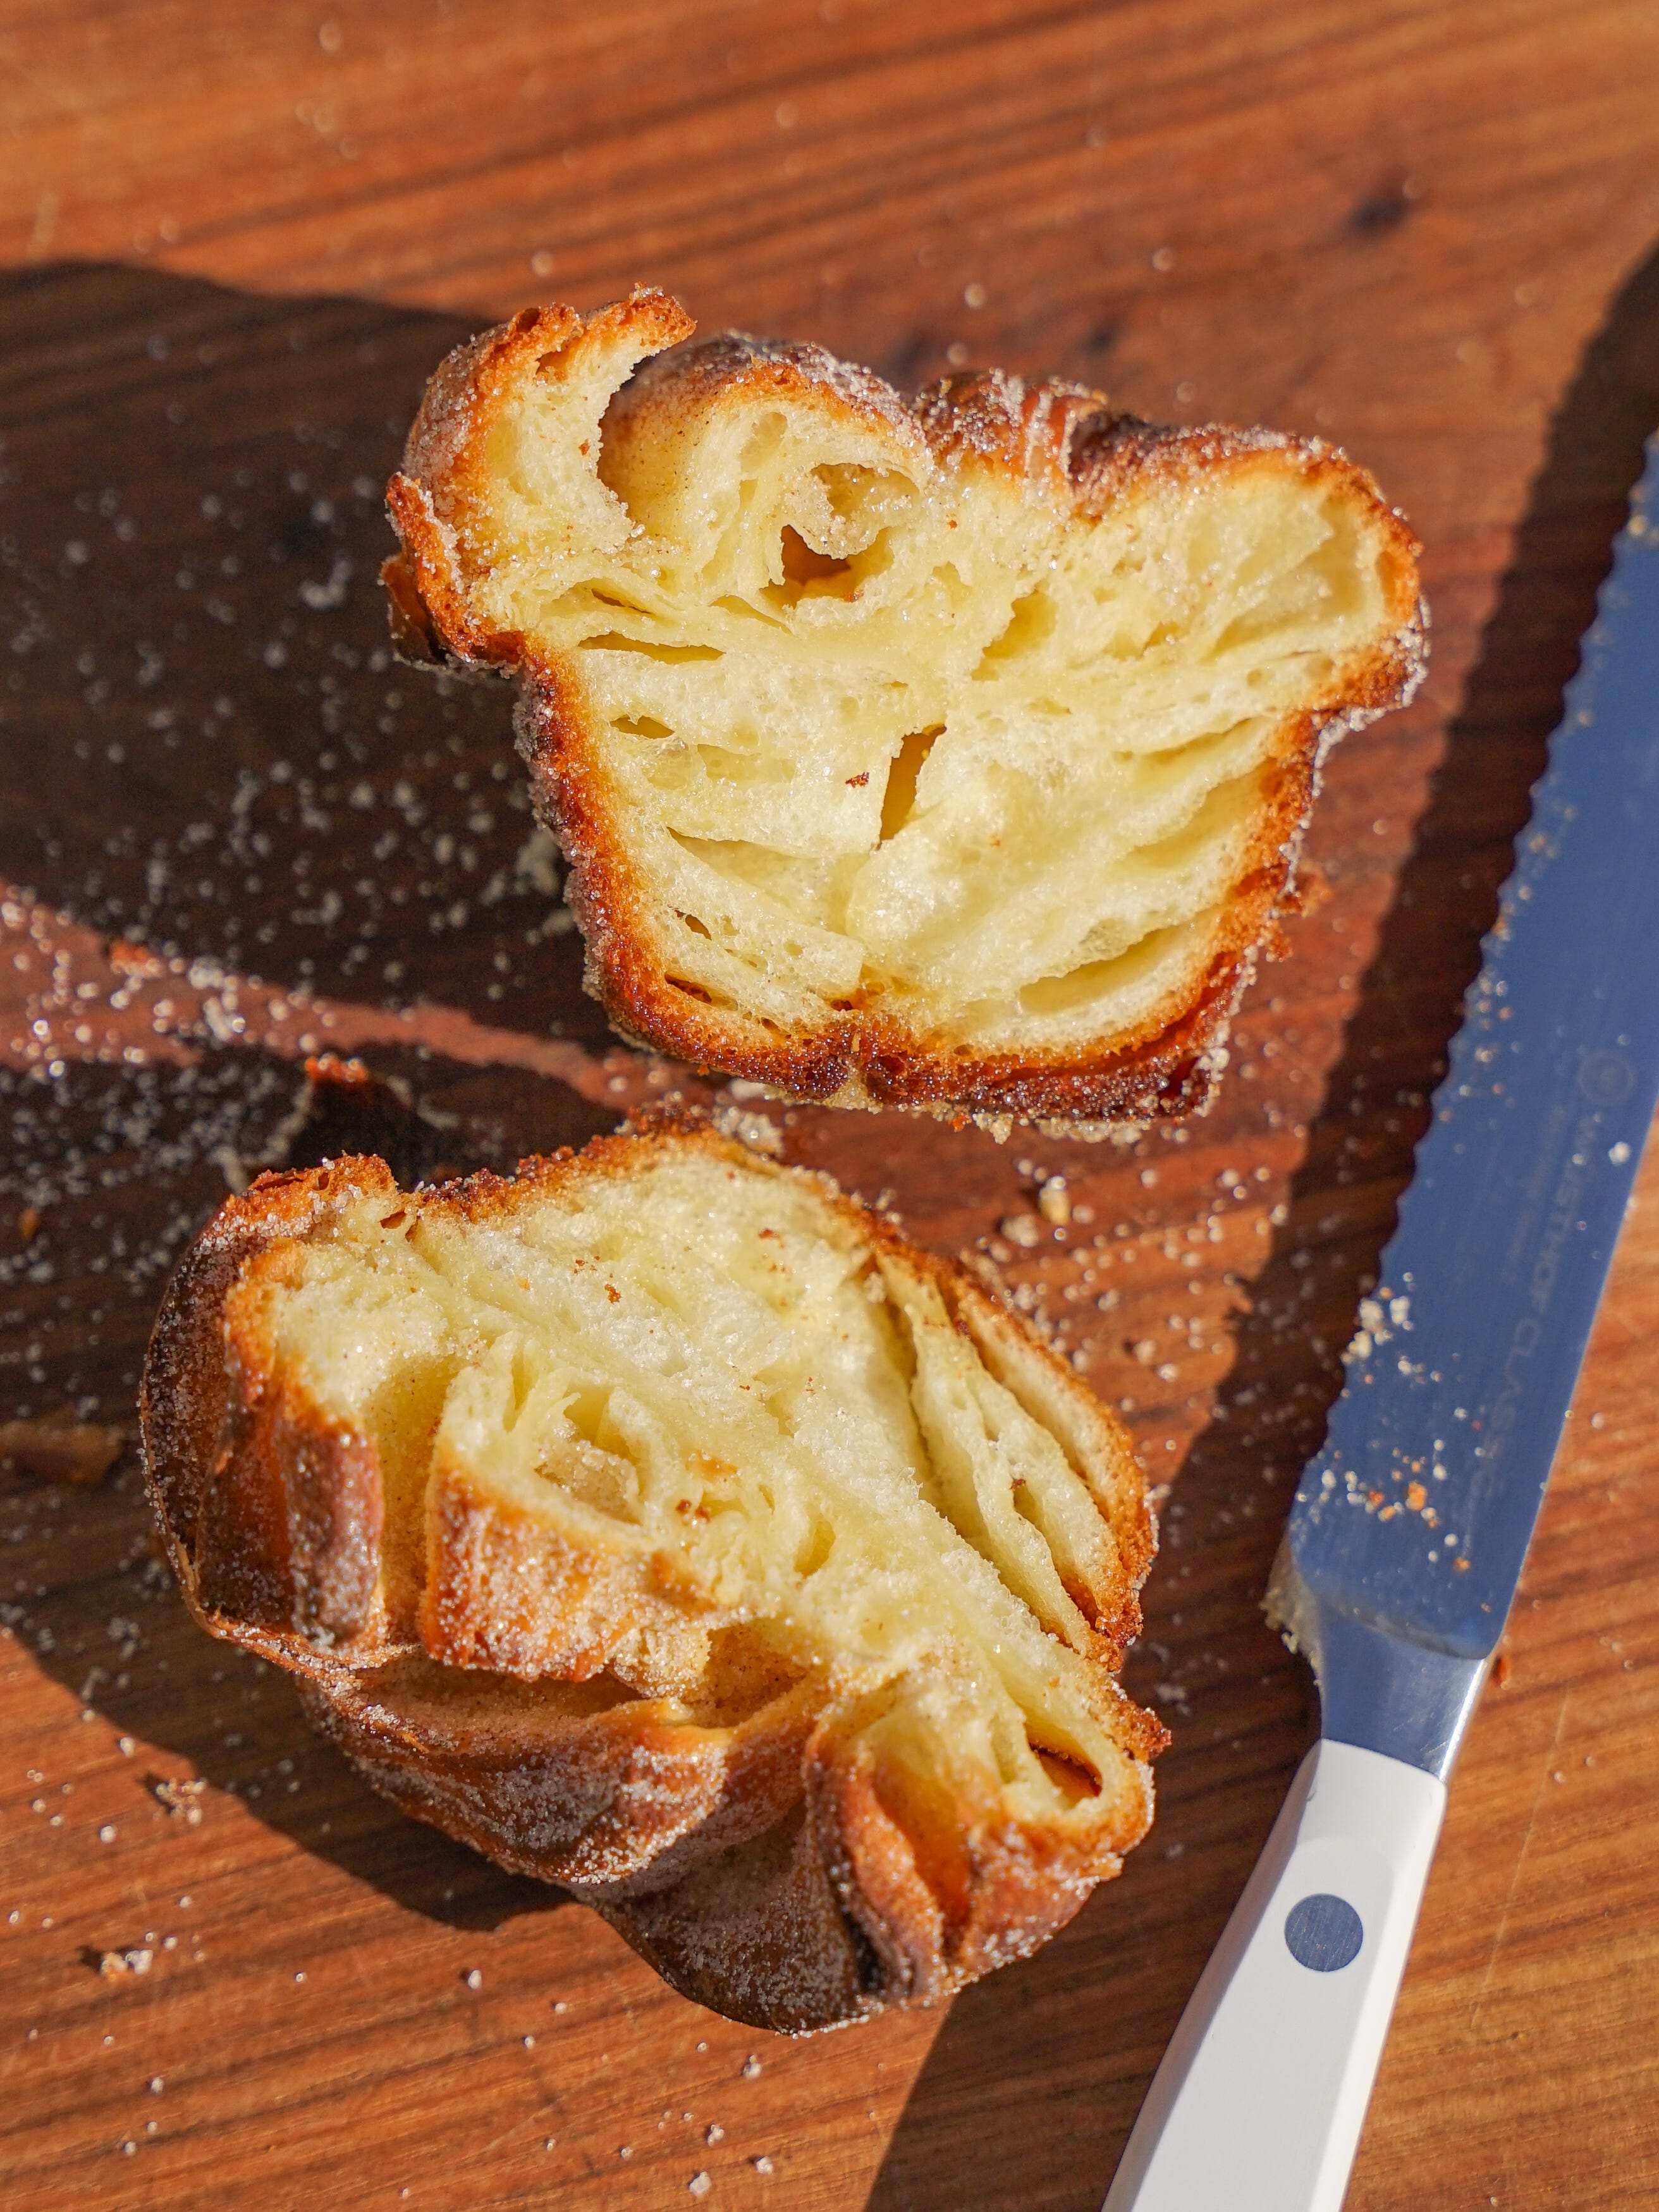
Make the sugar buns first before you attempt the full loaf. I have a nearly 100% success rate when making laminated buns and for a baker early in their laminated dough journey they feel less intimidating and so so satisfying to bake and tear into. If making the loaf, try to coil the dough braid not too loosely which will cause big air pockets insides. And the loaf takes quite a bit of time to proof, an overnight proof is ideal but makes the whole process quite long.
Take your time. Don’t Rush. Read through the whole recipe before you start the process. If it gets hot or the butter feels soft, stop and chill in the fridge before proceeding.
I highly recommend making the milk bread a few times before you attempt to laminate. If you’ve been baking from M&M or the bun of the month recipes for the last few years then you are good! But if you haven’t made milk bread before, make a simple loaf of it first.
Bake by weight. I beg of you! Volume measurements are still given for reference and for the stubborn bakers out there, but weight will always give you the most accurate results
Place a baking sheet underneath while baking in the oven to catch dripping butter. If you don’t the butter on the bottom of your oven will start to smoke and set off your smoke alarm. I say this from experience.
Save your dough scrapes and toss them in some sugar and cinnamon or five spice and pile them into a ring mold or small cake pan to bake into a Frankenstein-style monkey bread.
Ask me any questions you have! This is not an effortless recipe, but I tried to break it down into the easiest version of itself. This bread takes practice, but once you get the hang of it you feel powerful and professional!
You go this!
Lamination Process (with visuals)
The process of making laminated milk bread requires a batch of the Mother of All Milk Bread (recipe below) and a butter block. I love to use Kerrygold’s 8oz unsalted butter bricks because it’s just the perfect amount of butter and you don’t have to plasticize it, which requires softening 2 sticks of butter and somewhat mixing/kneading it so its pliable for lamination. The whole recipe is already a process and this is one small shortcut that I love. Also it’s good butter.
You want both the butter and dough to be cold, but not too cold that they tear against each other when your fold. When I make the milk bread and have the flexibility of time, I’ll let the dough proof in the fridge overnight so it’s very chilled. But if I want to laminate same day I’ll proof on the counter and then stick the dough in the fridge for about an hour so it can chill out.
Keep reading with a 7-day free trial
Subscribe to Have You Eaten Yet? to keep reading this post and get 7 days of free access to the full post archives.